10 tips to start with XO
- 📦 Applies to
- Xen OrchestraXCP-ng
- 🗓️ Created
- 2024-03-14
- 🔄 Updated
- 2024-03-14
- 🏷️ Tags
You can read this article directly on our blog: https://xen-orchestra.com/blog/how-to-start-with-xen-orchestra/
This quick guide has been created to help newcomers in the Xen Orchestra universe make their first steps in our Appliance and get the maximum from the trial period we provide. If you didn't register yet, do it now and ask for the trial period in order to discover all the features of XOA.
Citrix Hypervisor user? If you are struggling with XenCenter to manage your infrastructure or if you want a complete backup solution for your Citrix App and Desktop VMs, Xen Orchestra offers features for any of these use cases, as a complete all-in-one tool. And it works both with Citrix Hypervisor and XCP-ng (even legacy versions of XenServer).
Now that you have registered, here are 10 tips to help you in your journey with Xen Orchestra. Of course, this guide is just a glimpse of all the features and you can find a lot more information in our documentation section.
1 - Deploy Xen Orchestra on your XCP-ng host
The easiest way to install Xen Orchestra is to use the deploy tool available on this page:
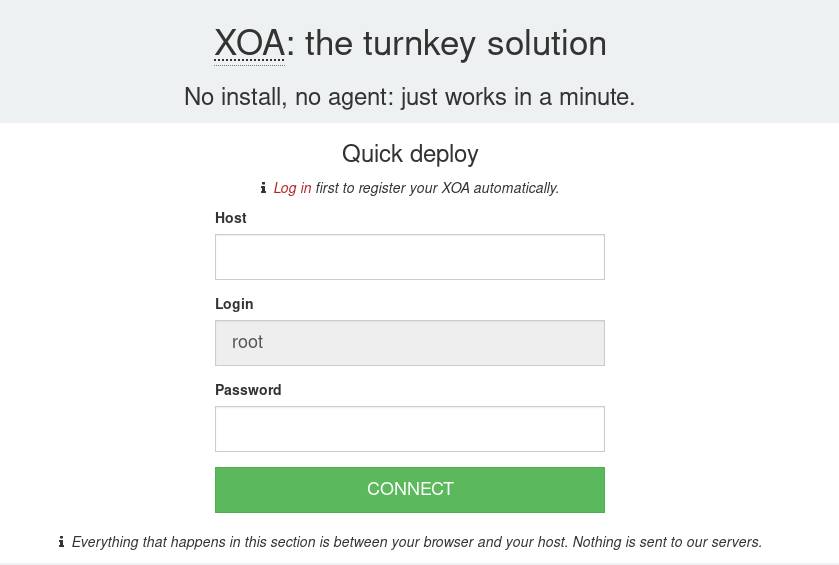
An alternate method is to SSH into your XCP-ng console and execute this command:
# bash -c "$(curl -s http://xoa.io/deploy)"
Everything that happens in the deploy tool section is between your browser and your host. Nothing is sent to our servers. Our SSH command will simply import a VM in your infrastructure, nothing will be changed on the server. It's 100% safe.
2 - Activate your Premium Trial
In order to activate your Premium trial, you have to go to the update menu. Register yourself with the very same email and password that you used to register on our website. You will see a green button appear, "Start Trial": click on that button. The final step is to click on the "upgrade" button. The Premium edition will be downloaded and you will be able to use XOA Premium during 15 days.
If you want to check the remaining trial period, you can go to the update view at any moment and check it there.
3 - Activate the plugins you want to use
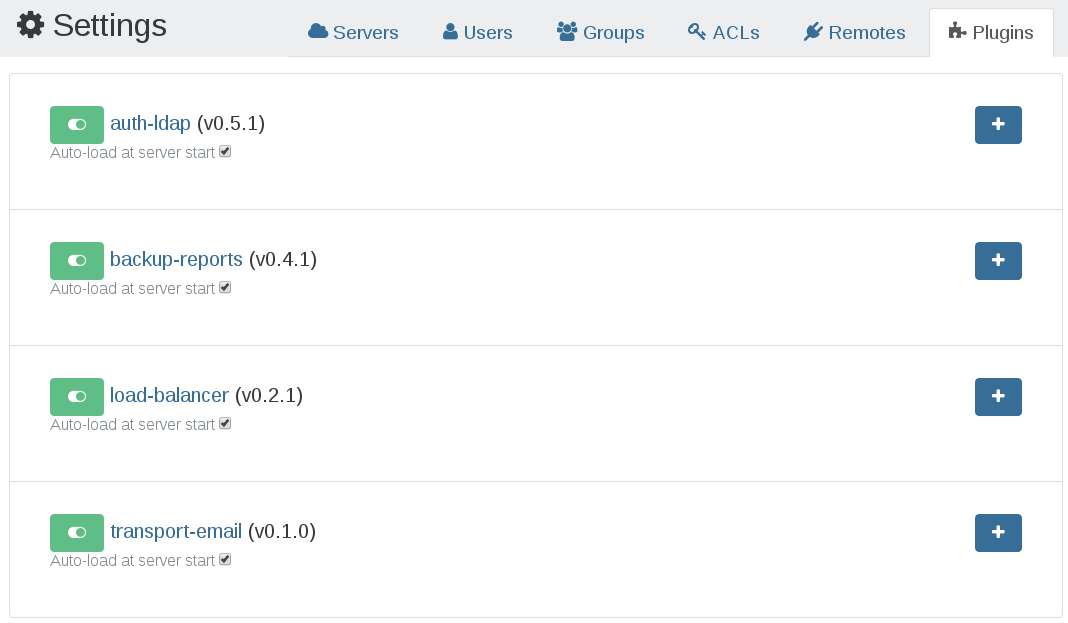
You are almost ready to use Xen Orchestra. The last configuration step you should do is to activate the plugins you need. In Settings/Plugins you can choose the optional features you want to use.
For example, LDAP authentication or the backup report can be activated and configured from this panel.
4 - Add an XCP-ng or Citrix Hypervisor host
The very first time you connect to XOA, you will need to add a server. To do it, simply enter the IP of your XCP-ng host (the pool master if in a pool). Once it's done, you are connected and will have access to the classic view to manage your VM objects.
You can check the global user interface documentation for more detailed information.

5 - Create a VM with Xen Orchestra
To create a VM using Xen Orchestra, click on the New VM button on the home view.
Select your pool, a template if you have one, and give a name to your future VM. The performance settings you need are vCPUs, RAM, CPU weight and cap.
CPU weight and cap are advanced features, modify them only if you know what you are doing.
6 - Manage your VMs
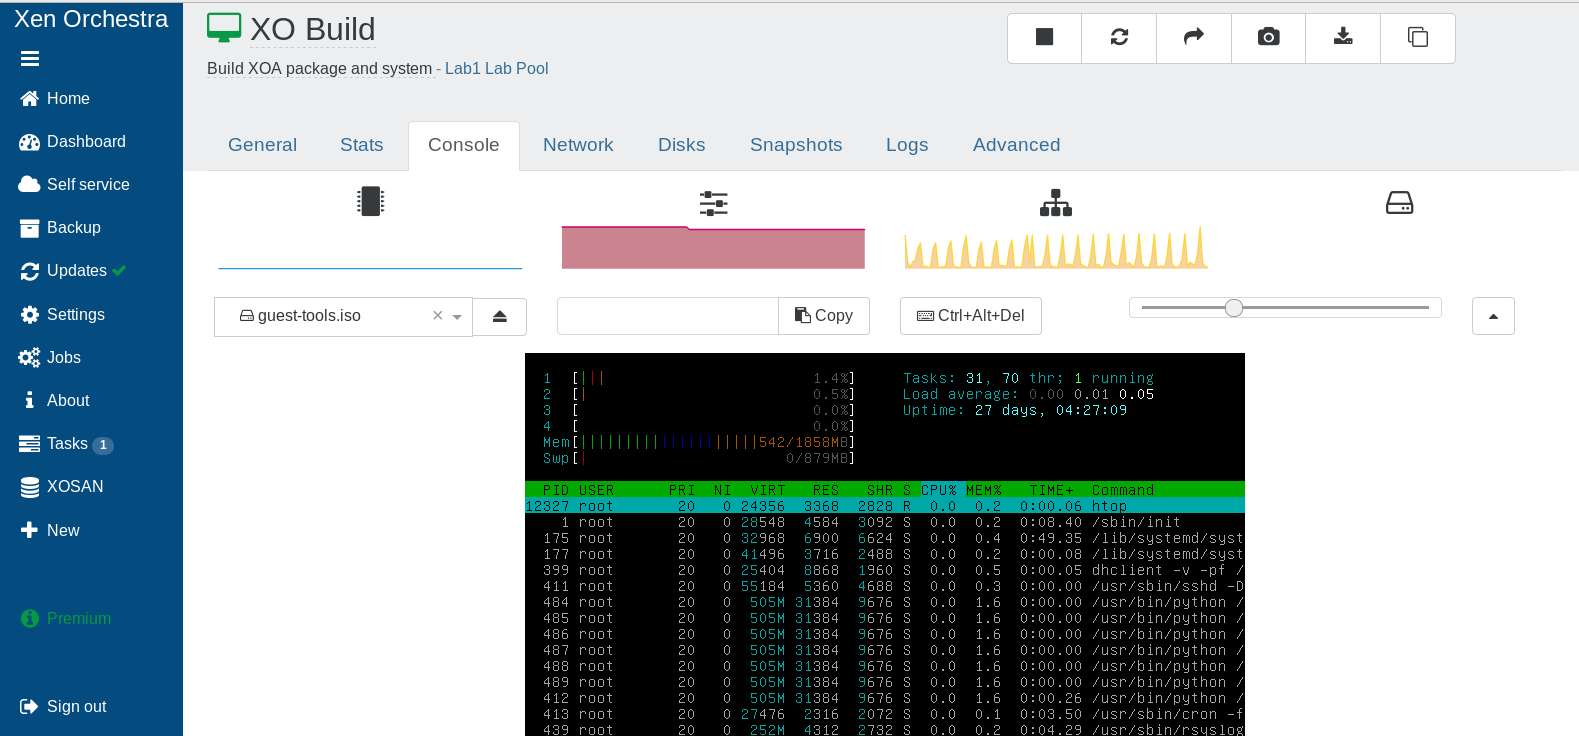
In Xen Orchestra, you can edit almost everything. It means that each time you see a dotted underline, you can edit simply by clicking on it. It includes VM title, description, CPU and memory and many more. By clicking on the advanced options you will have more management options for your VM like Auto Power VM, High Availability and even the option to copy your VM on any SR located in your XCP-ng infrastructure.
7 - Schedule a backup
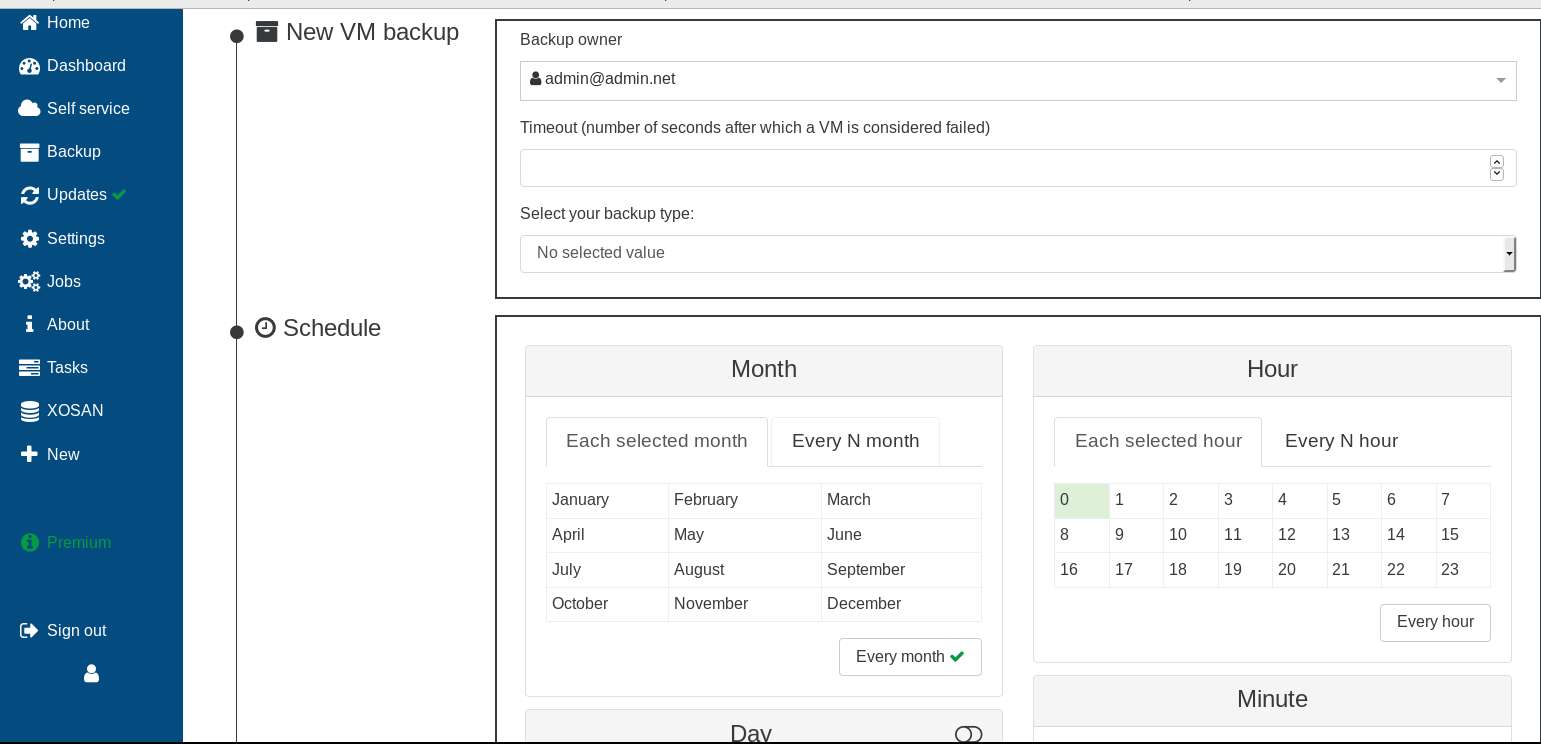
One of the most used options in Xen Orchestra is the backup. You can schedule full backups for your VM on your local XOA file system or directly in an NFS or SMB share. To do so, click on the backup menu and choose the VM you want to back up. Then, adjust the frequencies and the "depth" to modify the retention (removing the oldest one).
Keep in mind that full backups are space consuming. Xen Orchestra allows delta backup which is far more optimized. You can find more information about delta backup here.
8 - XCP-ng rolling pool update
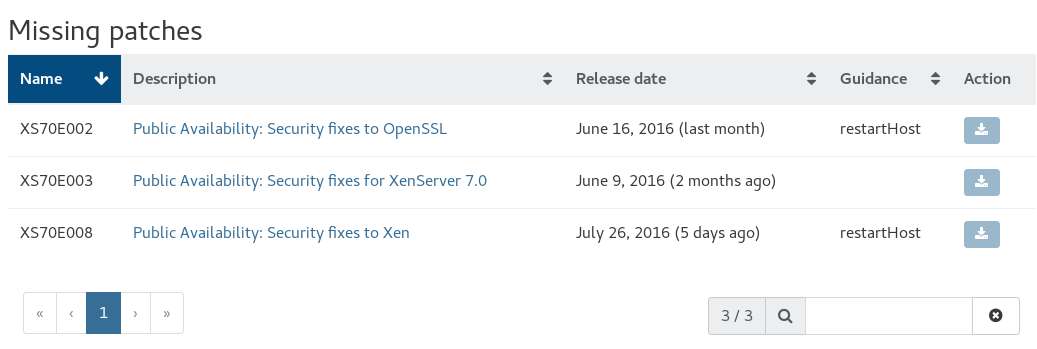
Patching a host manually is not only time consuming, it's boring too. That's why we provide a high level feature which is downloading and applying all missing patches automatically.
The missing patches will be displayed on your dashboard view, on your pool view and on your host view. By just clicking on "Rolling Pool Update", you'll enjoy all the updates installed, hosts rebooted and without any impact on your production, since Xen Orchestra will migrate everything around automatically.
9 - Access your logs
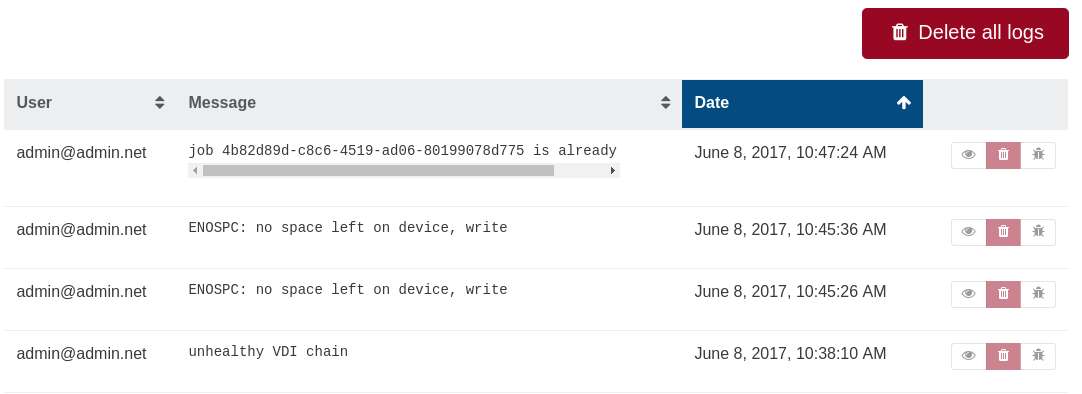
Sometimes it's useful to check XOA logs in order to detect issues. You can access logs by clicking on Settings/Logs.
10 - Ask for support
Even during your trial period, you have the ability to open support tickets.
Our pro support is included in our appliance. You can access your support menu in your customer interface. You can reach us through the chat box on the website too.
Of course, the higher the plan is, the higher priority it gets for support. Our response time is usually under 24 hours.
Do you want a bundle with both Xen Orchestra and XCP-ng support? Ask us!