ISO installation
If you want to use the netinstall ISO, see the Netinstall section.
Environment
- A physical host dedicated to XCP-ng (XCP-ng is a specialized Linux distribution and needs a dedicated physical disk).
- An install media (e.g. a USB key, 1 GB or larger).
Procedure
Download and create media
You can download the latest 8.2 ISO here: https://mirrors.xcp-ng.org/isos/8.2/xcp-ng-8.2.1.iso?https=1.
SHA256 checksums, GPG signatures and the net-install ISO are available here.
Then, create the install media:
# dd if=xcp-ng-8.2.1.iso of=/dev/sdX bs=8M oflag=direct
TIP: on Windows, you can use Rufus to create the bootable USB stick.
Start the host
Start the host and boot on the USB media.
Follow instructions
1. UEFI vs BIOS
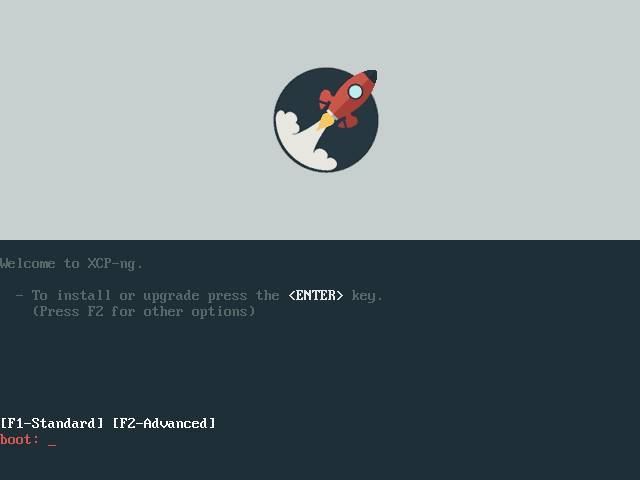
Boot screens are just slightly different on start between BIOS and UEFI mode.
BIOS splash screen:
UEFI splash screen:
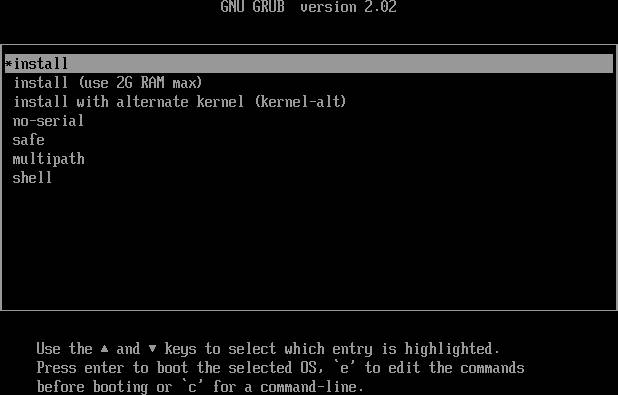
WARNING: NEVER switch from UEFI to BIOS (or vice-versa) after you installed XCP-ng. Stick to the mode that you chose during the install.
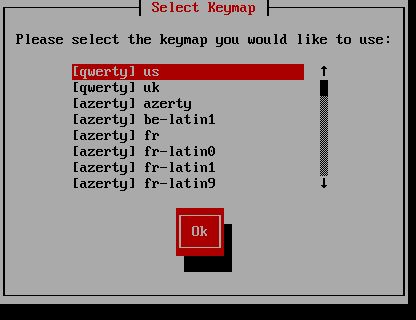
2. Language selection
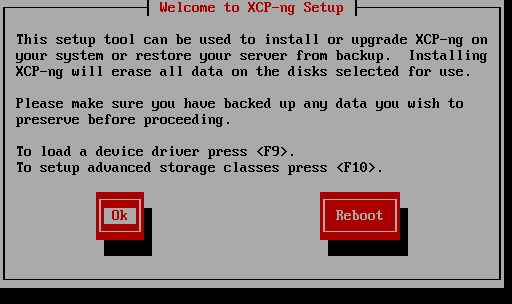
3. Welcome
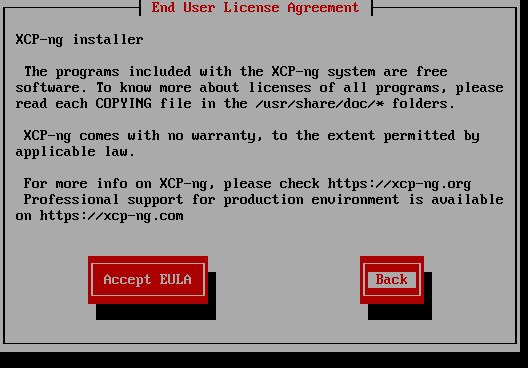
4. EULA/license
5. Disk selection
This is the screen where you select where the XCP-ng system will be installed. XCP-ng is a specialized Linux distribution, so you need to dedicate a physical disk to it. Partitioning is done automatically.
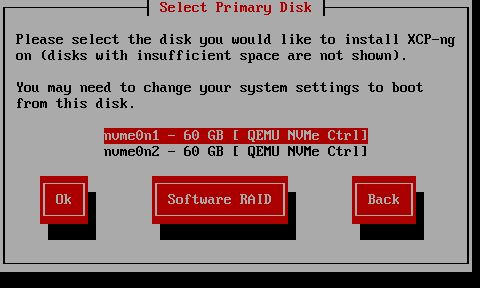
Alternatively, if you have two identical disks, you can use Software RAID (mdadm):
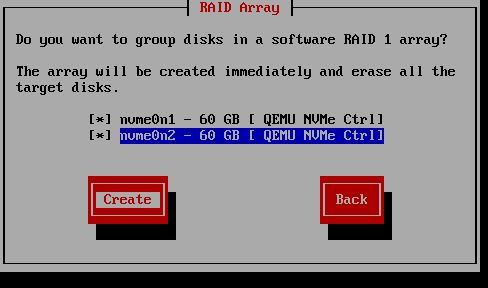
TIP: if only one disk is found suitable for the installation, this step is skipped. The name of the device will be displayed to you in the "Confirm Installation" step, later in the process.
6. VM storage selection
This is the place where your VM disks will be stored. It is called a Storage Repository (SR). It can use the same disk you installed the system on. It will automatically use the free space after system partitions.
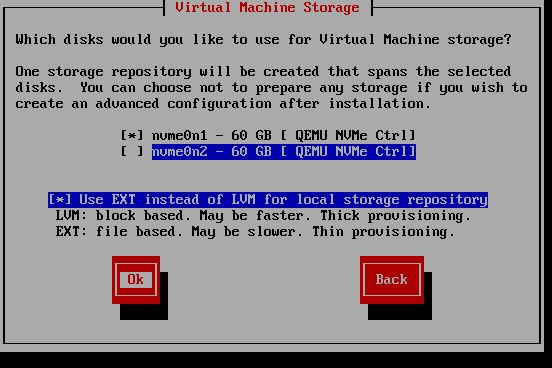
TIP: EXT instead of LVM? We advise to use EXT to benefit from thin provisioning!
WARNING: when the installer skips step 5 automatically, users sometimes mistake this step with the selection of the system disk.
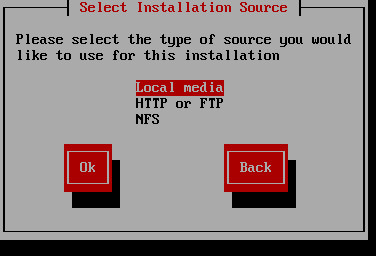
7. Installation source
If you use the default ISO, just select "Local media":
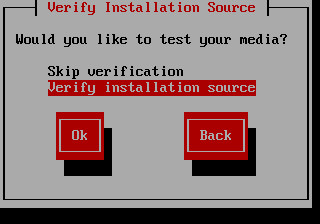
Then, you can verify your media or not:
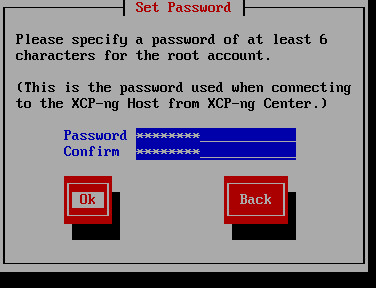
8. Host password
This will be the root password, used to connect to the host with SSH and XAPI.
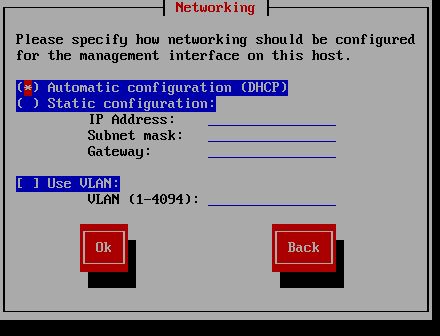
9. Networking
Here you can select between DHCP and static network, even using a VLAN:
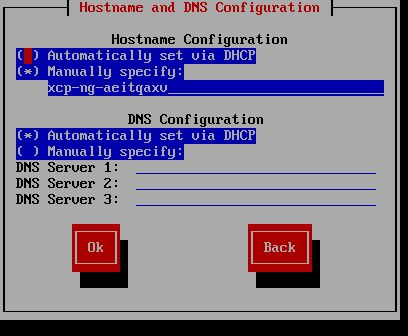
10. Hostname and DNS
Configure the hostname of your server and the DNS resolvers.
11. Timezone and time
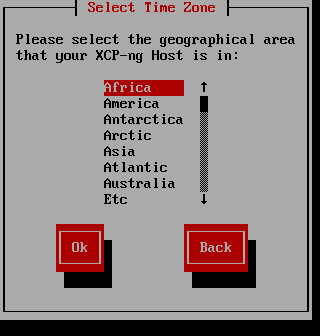
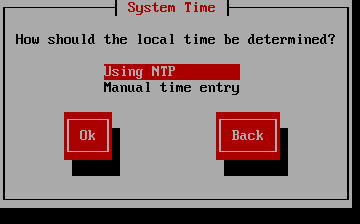
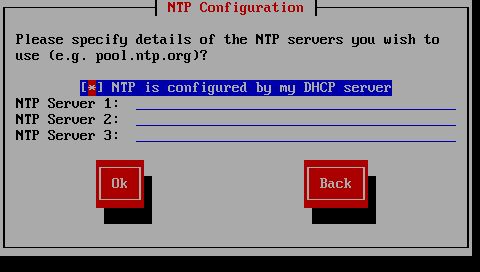
WARNING: ALWAYS use an NTP server. It is a critical component to manage your host(s). If you do not know any NTP server, you can use pool.ntp.org.
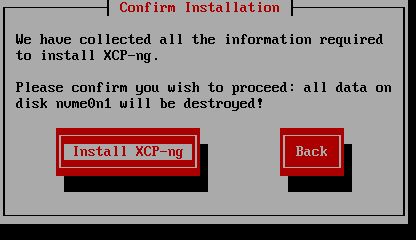
12. Installation
WARNING: after this step, data will be written on the disk(s)! Check the listed device(s) one last time.

13. Supplemental packs and end of install
Not relevant in almost all cases. Skip it:


TIP: "Completing installation" is in fact installing the bootloader and building the initramfs. It can take time.
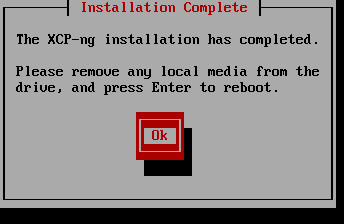
14. Reboot
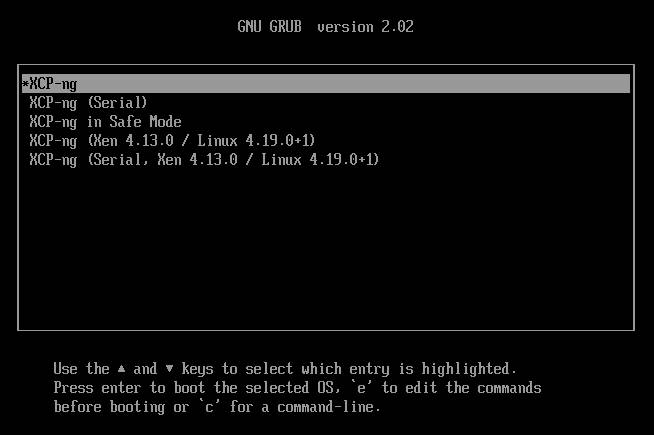
After a reboot, you should see the GRUB menu:
Verification
After the reboot, the GRUB menu is displayed: it means the system is correctly installed. Enjoy XCP-ng!